


Our first ever sewing project today was short and sweet, and a total success. We made the rather snazzy cushions pictured above, and we made them in under an hour. Here's how:

Our gorgeous fabric from Beyond Fabrics came conveniently pre-cut. Officially it was 50cm x 100cm but actually it was more like 56cm x 112cm - perfect dimensions for cushions. The short ends of our fabric were selvedges - if yours aren't you should hem or over-stitch them first to stop the fabric fraying.
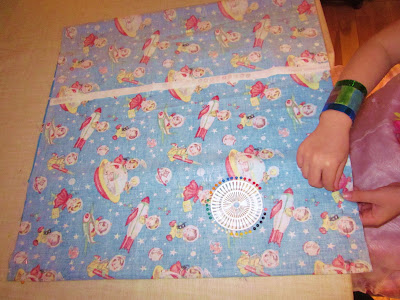
1. First, lay the fabric flat on the floor or a table, pattern uppermost, and fold the bottom of the short (selvedge or hemmed) end up on itself by about 45cm and the opposite edge down by about 15cm. It should look like a square envelope (approximately 51cm x 51cm) as the photograph above shows.

2. Pin the open edges together - about 2 - 3cm in so the pins don't interfere with the sewing machine.
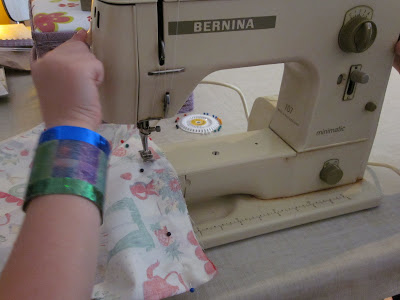
3. Run a seam - about 1cm in - along both pinned edges. My children watched, fascinated, as I set up the machine, and I let them lower and raise the foot and needle as required, and they worked the foot pedal (or accelerator as Buddy would have it).
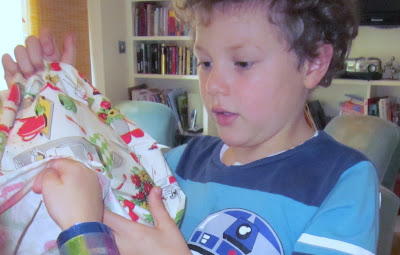
4. Then take out the pins and turn the cover right-side out. Finding the corners was a fun challenge.
5. Finally, pop a cushion pad inside. These covers are like pillowcases, so they are totally removable.

Job done!
No comments:
Post a Comment
I'd love to hear your thoughts. Please leave your comment here.